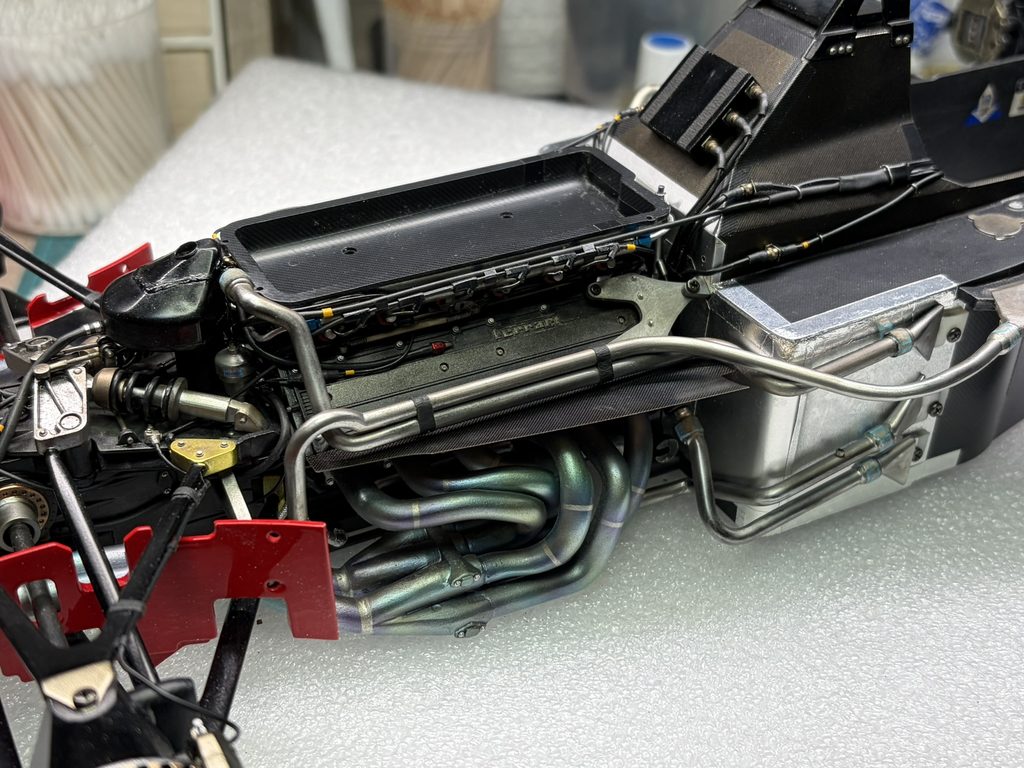
耐熱版の上部にラジエーターからの配管を追加していきます。
Next, the radiator pipes are added along the upper section of the heat shield.
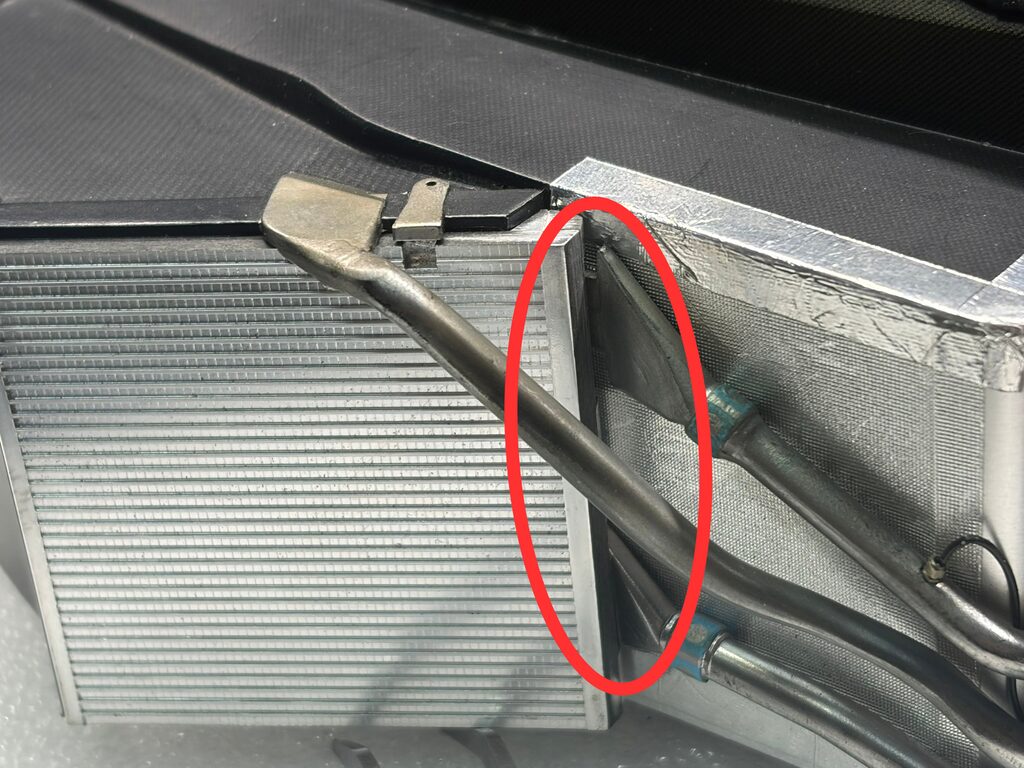
ラジエーターを取り付けていきますが、キットのままでは画像の赤丸部分に隙間ができてしまいます。
Next, the radiators are installed. However, when assembled as provided in the kit, a gap remains in the area highlighted by the red circle.
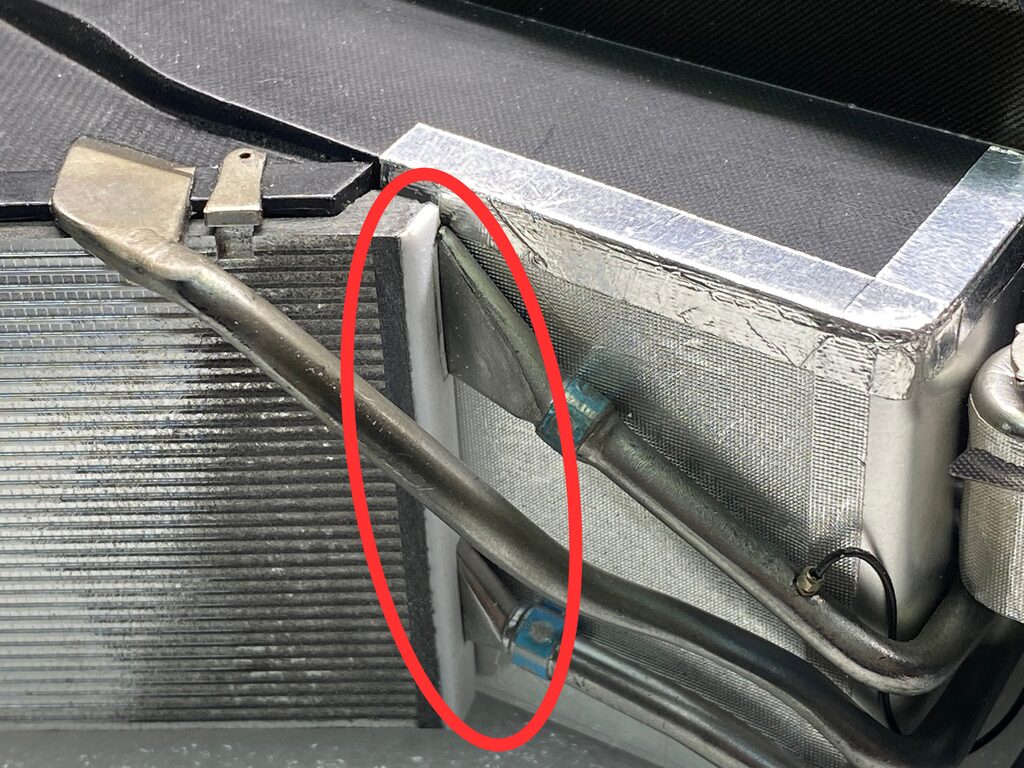
この隙間ができないように、ラジエーターを整形していきます。
The radiators are carefully reshaped to eliminate this gap and achieve a clean, precise fit.
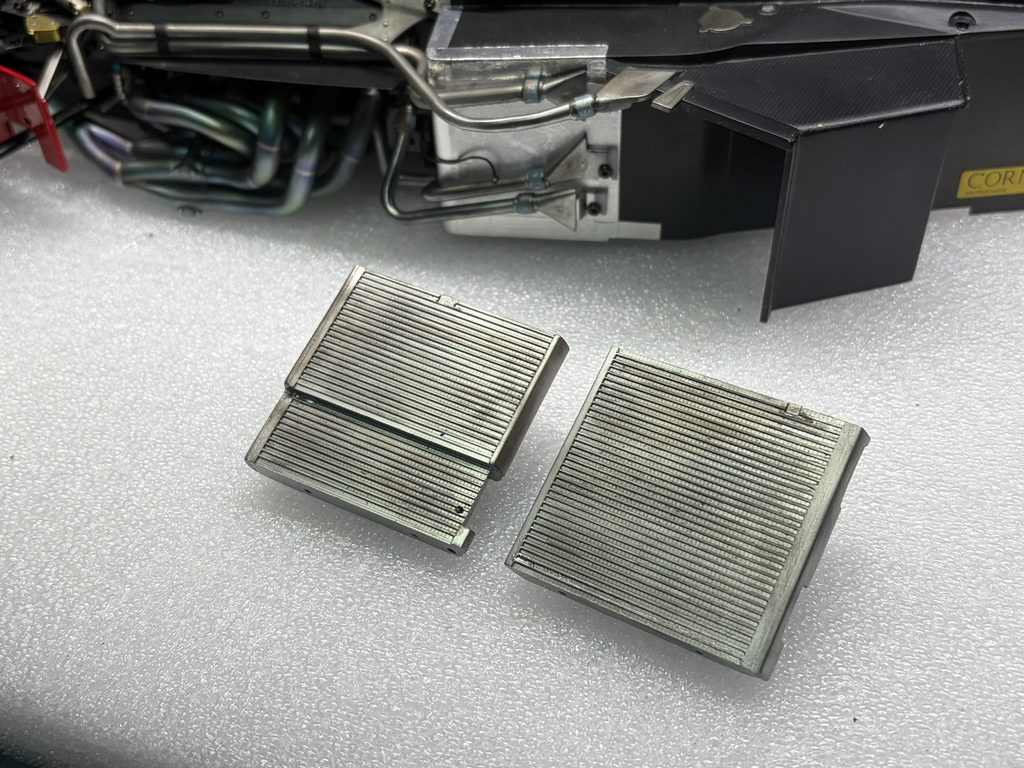
ラジエーターにもメッキ処理が施されているため、こちらもすべて剥離してから再塗装します。
また、塗装後にウェザリングを施し、実車らしい使用感を再現していきます。
The radiators are also chrome-plated, so the plating is completely stripped away before repainting.
Weathering is then applied to reproduce the used appearance and surface texture of the real components.
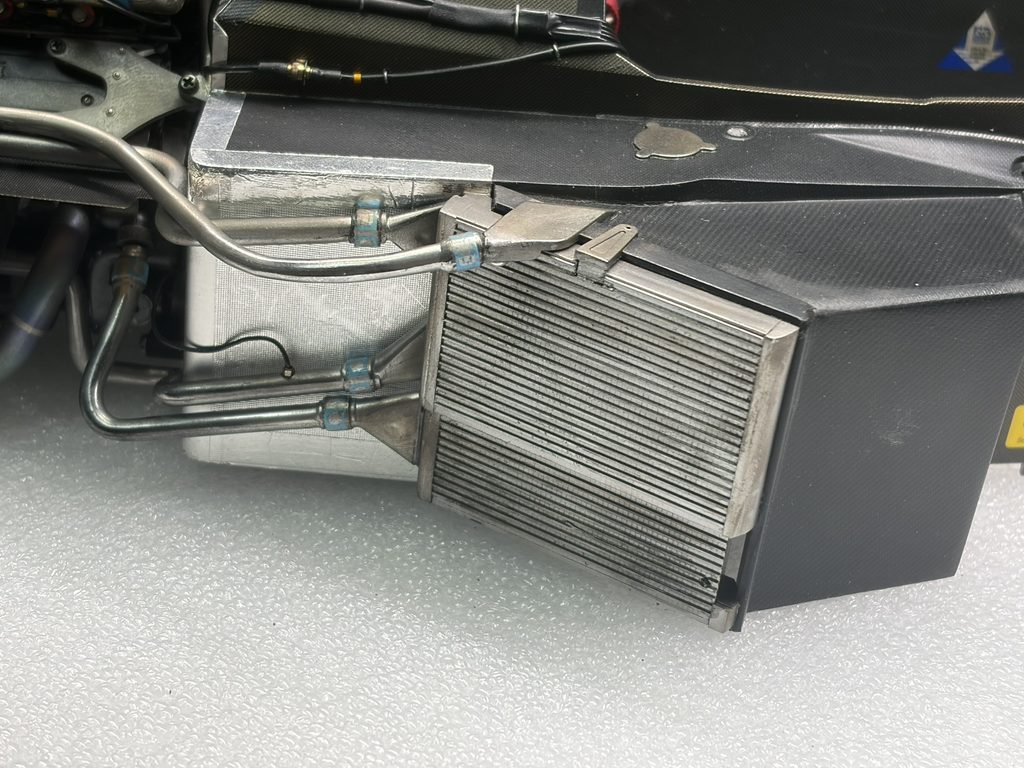
組立説明書とは取り付け方法を変更し、この段階でラジエーターを取り付けることにします。
The assembly sequence and mounting method are being changed from the instructions, so the radiators will be installed at this stage.
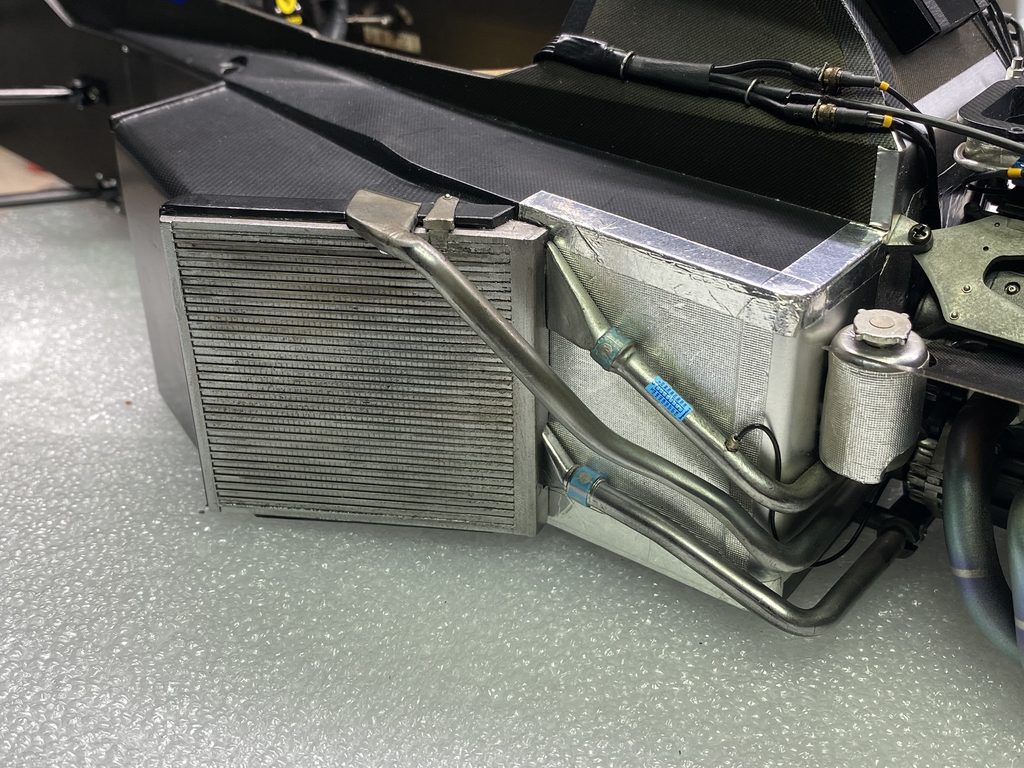
反対側も同様に整形したラジエーターを本体に取り付けていきます。
The reshaped radiator on the opposite side is also installed onto the main assembly in the same manner.
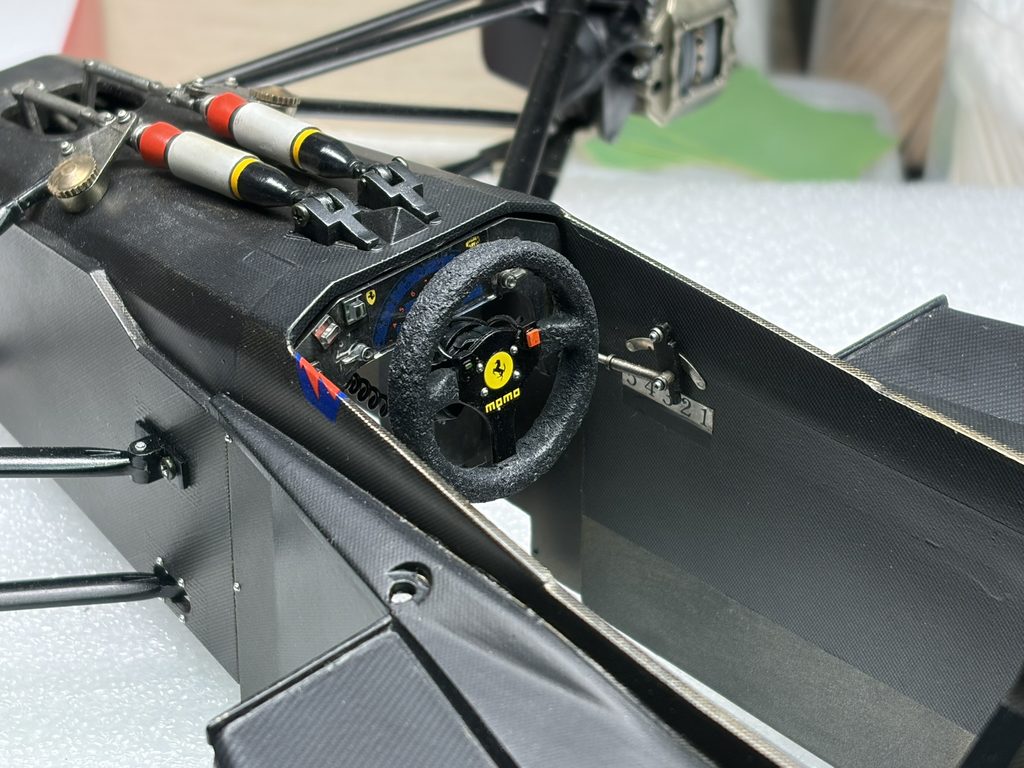
続いて、製作しておいたステアリングを本体に取り付けていきます。
Next, the previously completed steering wheel is installed onto the main assembly.
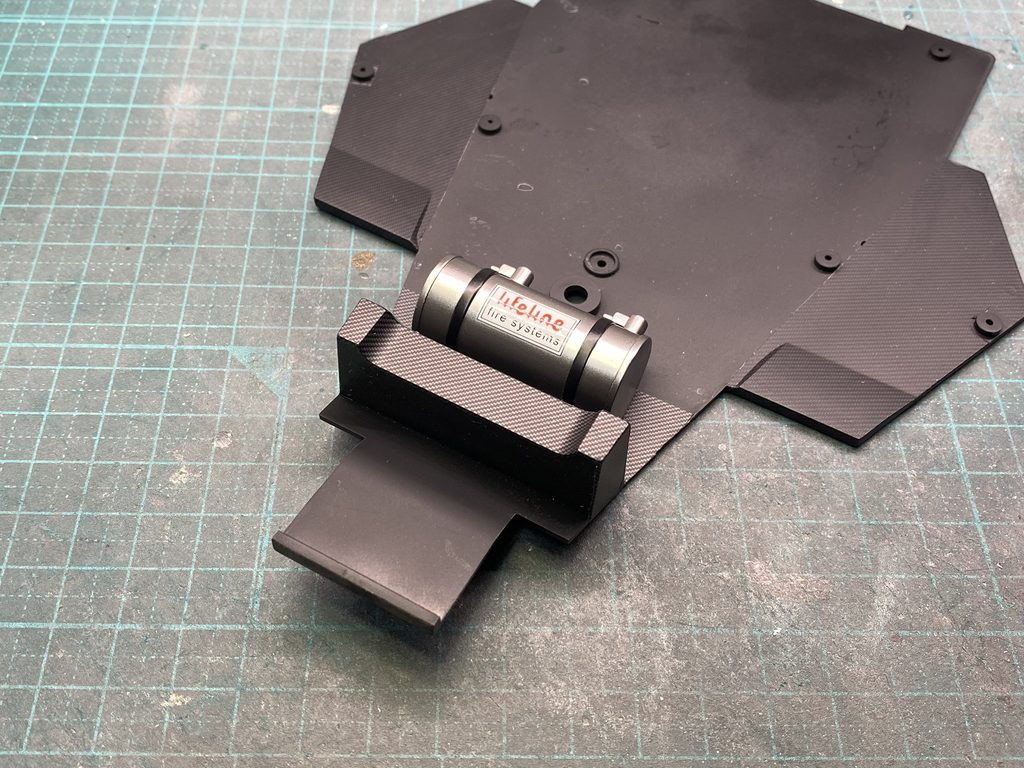
コックピット底面のプレートを製作します。
足元やダクト部分にはカーボンデカールを貼り付け、クリアーで仕上げておきます。
Next, the floor plate of the cockpit is prepared.
Carbon fiber decals are applied to the footwell and duct sections, followed by a clear coat to protect and finish the surface.
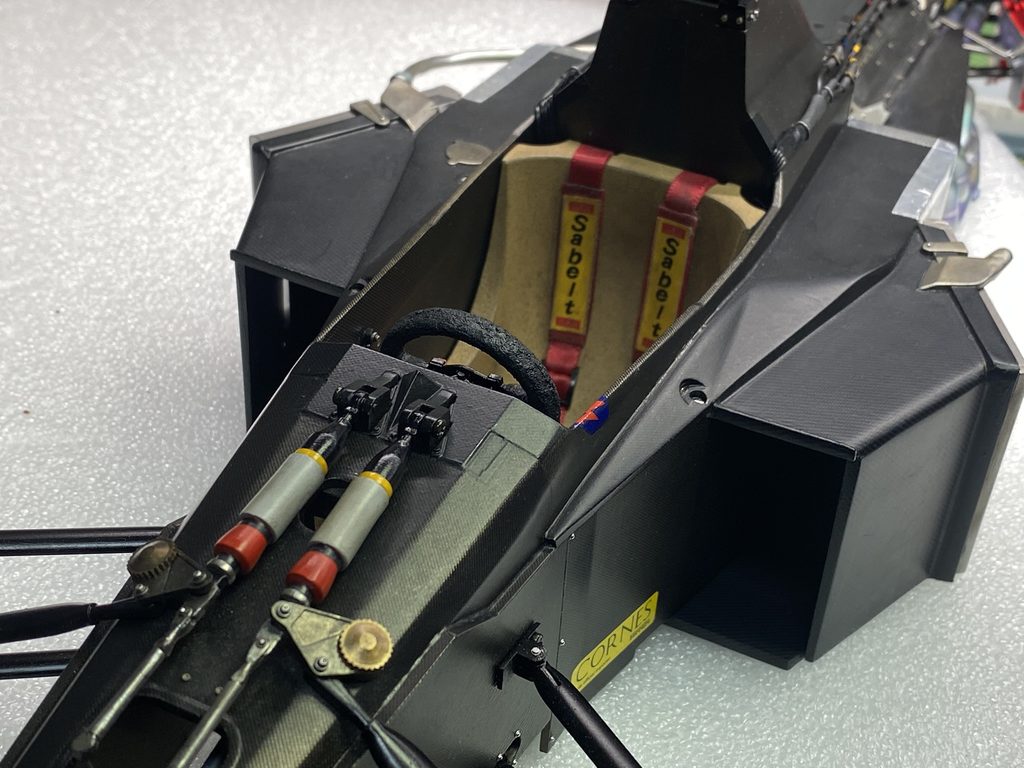
底面のプレートを取り付け、続いて製作しておいたシートも取り付けていきます。
The cockpit floor plate is installed, followed by the previously completed seat.